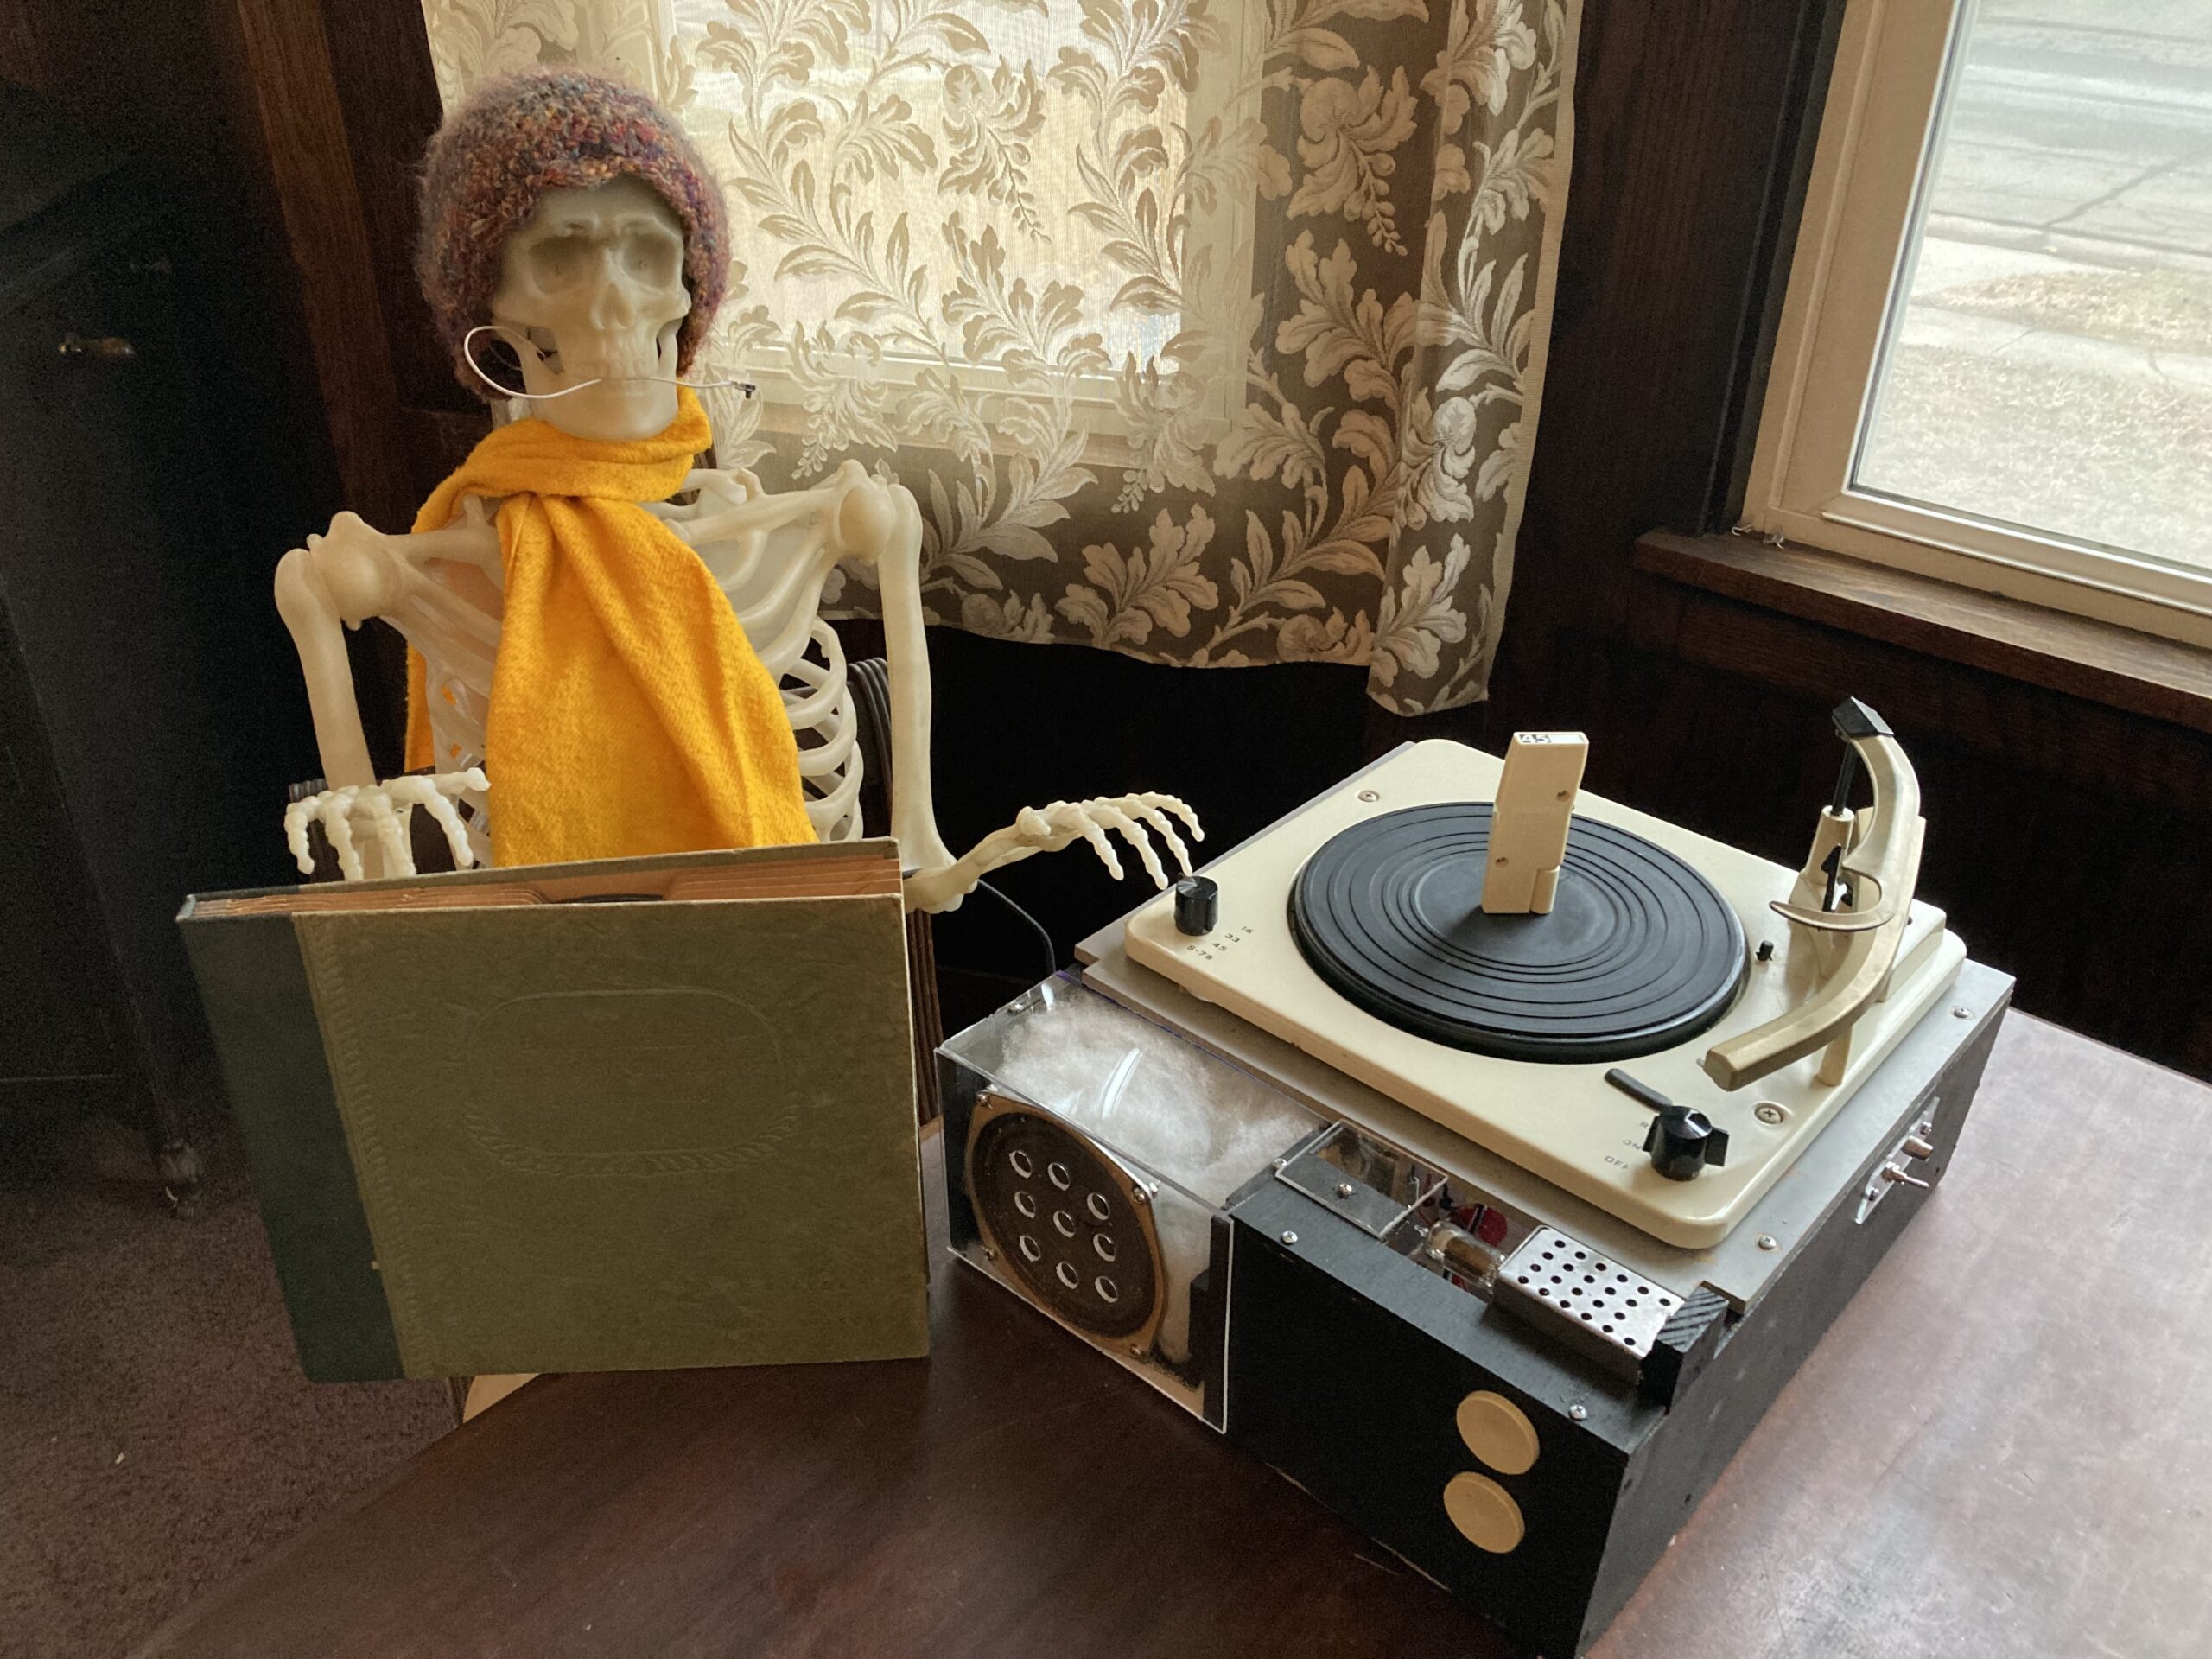
A very rough history of the record player project…
This journey started with Mr. DeWalt. Please visit his substack and check out his published lead sheets. Phil is in KCMO, which has plenty of great thrift stores. He found a Voice of Music 985 “Tri-O-Matic” for $4. It was in cosmetically good condition, but had major problems. I had taken a crack at his RCA 45 EY-2 / RP 190 earlier on, and more or less failed to get it back up spec. I had installed a bunch of parts, recapped the amp, and sort of adjusted it… but… back home at Phil’s, where I’d shipped it, it bogged down. Ran slow. Foreshadowing of the coming nightmare.
So I took on the VM. I have a few VMs around here. One is in the Philco 1972-S that I’ve been working on for more than a decade. Or maybe even two. The VM in that console had a nasty vibrato, known in audio-phono circles as ‘wow and flutter,’ that made listening to most music excruciating.
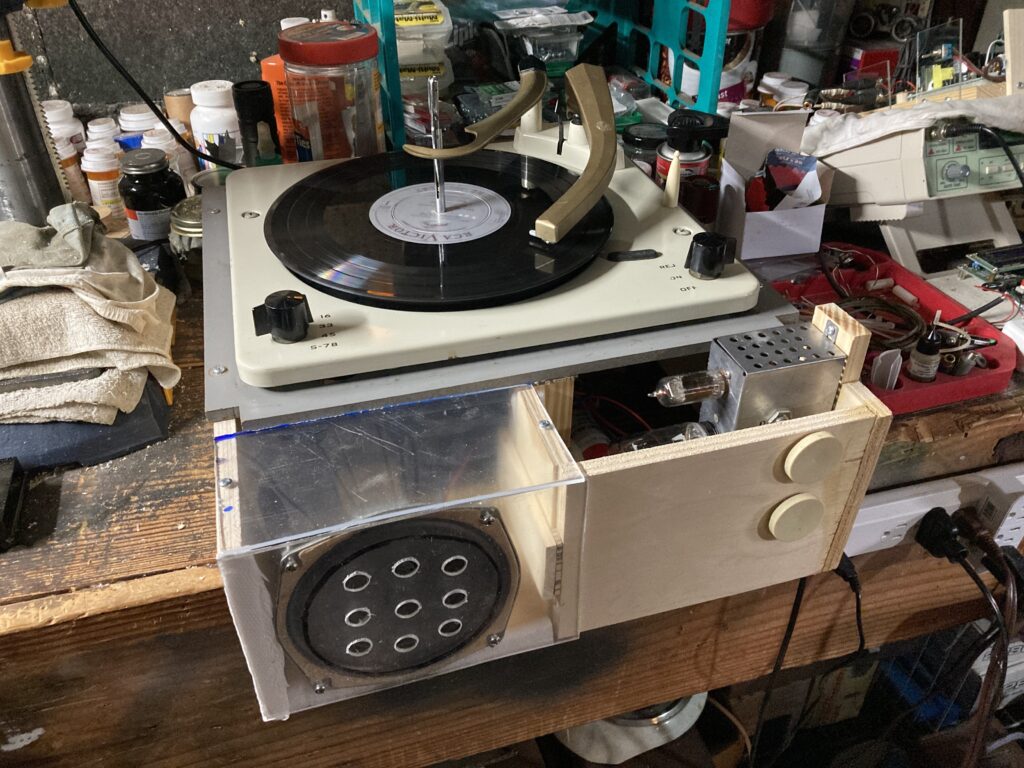
Anyway, back home in the shop, Phil’s was cosmetically quite nice, but had one obvious problem: the tone arm was on its side in the case, not connected to anything but the the fragile wires that supposedly went to the amplifier. Taking it apart was the place to start. After some head scratching, I figured out how to do that. Plus, I got ahold of a service manual. The changer is model 950.
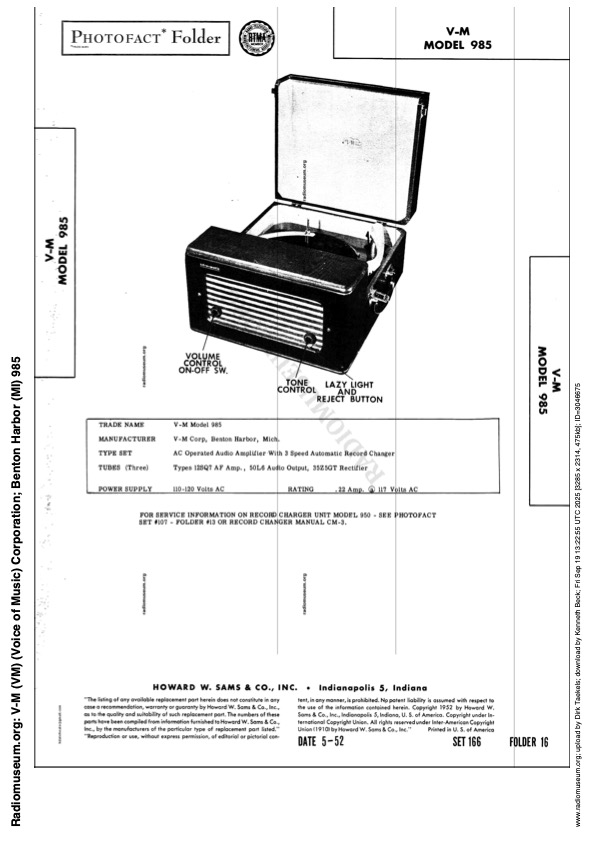
The amp uses three octal tubes. It’s an example of a favorite circuit that saved money by eliminating the power transformer. The tube filament voltages in our USA nomenclature are the first digits of the tube type: thus, the 12SQ7 preamp, the 50L6 power amp, and the 35Z5 rectifier add up to a nominal 97 volts. A resistor drops the voltage down enough to make the filaments happy. That’s the rough idea. The expected line voltage of 117 volts AC runs the motor, and the 35Z5 puts out full wave DC, filtered into hum-free smooth DC by a three way filter capacitor, that also serves to couple the cathode of the 50L6 to ground. Yankee ingenuity in action. The caps, one can assume, are toast by this time… 75 years after they left the manufacturer. I replaced them with current issue electrolytics. Let all of this tube amp jargon wash over you, my friends. The amp was the easy part. These amps are bare bones. But they work. Not distortion free, nor high fidelity, but they do take the itty bitty little voltages from the ceramic cartridge and boost them enough to drive a speaker. Ceramic is in italics; we’ll get to that headache later.
Luckily for me, the pin for the tone arm — a very hard part to replace — was found lurking in the debris under the works in the case!
But the cartridge was dead. No big surprise. I set about sourcing a replacement. The best I could come up with was not an exact match. Whatever advantage I had in locating the tonearm pin was dissipated by sourcing problems. The best source for VM parts is VM Audio Enthusiasts, the web site and shop operated by Gary Stork. It is a huge coup of internetting that he’s got the domain thevoiceofmusic.com! I ordered new motor mounting grommets and a rebuilt idler wheel from Gary. I also consulted about the possible necessity of replacing the turrets on the motor board. This was VM territory that I’d not previously encountered; in this early version of their product, the movable motor assembly that slides the motor up and down past a step cone on the motor shaft was still a gleam in somebody’s eye in Benton Harbor. In the early 50’s, the VM of the 950 moves the single shaft past an array of turrets of differing sizes to get to the desired platter speeds… 33, 45, 78 rpm.
The big problem I had encountered with the RCA 190 was that old grease turns into glue over the years. Instead of lubricating things, it just royally gums things up. I started by disassembly of the motor, and then soaked the parts in rubbing alcohol. In the RCA, the motor can be taken apart so that the rotor is free of bearing assemblies. There’s one of these assemblies on the top and bottom; both assemblies have a bearing held in place by a spider and surrounded by some sort of fabric batting that holds the lubricant. There are already plenty of folks working on, enjoying and selling these record players. Chris Cuff’s videos on the mechanism can’t be beat. Here’s one on the exact assembly I’m writing about.
When working on the RCA R-192 motor, I learned that merely dabbing some isopropyl on the bearings is not going to do the job. This motor did run, but it ran slow. Also, it sped up as it warmed up. The warm up took quite a while; more than 10-20 minutes. And, after that time, recordings played did not come quite up to the correct pitch. At least Elvis did not sound like Tennessee Ernie Ford.
Phil’s record players went back to him upon my KC visit on December 26, 2025. Despite my best efforts, there were some issues. I’m not sure they were resolved, or will ever be.
I returned to the shop to work on the 1200 series units on hand. As with the Collaros I worked on earlier, I bought a series of units on ebay for parts. Most of the restoration work is straight forward, if tedious. The machine is dismantled. Parts are soaked in solvent. Mineral spirits proved to be effective. But beyond soaking, the elbow grease must be applied to clean the parts of all traces of the old lubricant. Heat is also useful.
As noted, rubber parts must be replaced. This includes idlers, motor mounts, and fitting grommets. So, back to Gary… He’s a good source for replacement cartridges, also. If the cartridge is a high output crystal, it’s most likely dead or dying. The output of these cartridges, which the one tube wonder amplifiers expect, is about 3 volts. I check them using a digital meter; unless the needle jumps, one can expect no sound no matter what.
Motors… Some fancy turntables use a synchronous motor, which locks on to the line current frequency, which here in the USA is 60 Hz. The induction motors do this too. The difference is that they don’t lock to frequency, so they will run slower under load. They come several configurations. The two pole motors are the simplest, and most common on the low-price changers, as in the VMs.
The VM motors, of which I now have a small collection, present the same sorts of issues. Each motor is a problem child in its own way. Generally, though, most of them do run. They tend to run slow. I became fixated on the idea of getting them as close to speed as possible, so in all but one case, I dismantled them without thinking too much about it and soaked the parts. While the parts are soaking, let’s talk: you can Google it. You can ask AI. Yes. Let’s ask AI:
Step-by-Step Cleaning Process
- Safety & Disassembly: Always disconnect the power supply. Carefully remove the motor from the turntable chassis. If the motor casing is bolted, unscrew the end caps to access the internal rotor and stator.
- Exterior Cleaning: Wipe the outside of the motor with a dry rag to remove loose dust. Use a microfiber cloth for delicate surfaces.
- Degreasing the Bearings & Spindle:
- Soak the bearings or the entire motor (if non-serviceable) in isopropyl alcohol or a mild solvent for several hours to break down hardened, 30+ year-old grease.
- Clean the motor spindle with a swab dipped in alcohol to ensure it is free of residue.
- Cleaning the Windings: Use a soft brush or compressed air to blow dust out of the copper windings. Do not use water or harsh chemicals on the windings, as this can cause a short circuit.
- Re-Lubrication: Once completely dry, apply a few drops of sewing machine oil to the top and bottom bearings. Avoid over-oiling, as excess can attract more dust.
- Reassembly: Put the motor back together, ensuring the rotor spins freely by hand before tightening
Pro Tip: If you encounter a frozen shaft, an ultrasonic cleaner with a mild solvent can significantly speed up the removal of stubborn, “cooked” grease.
The expression ‘cooked grease’ puts a finger right on the problem, but there may be other problems.
I marked the motor up with permanent marker in three colors to make a record of where the parts went and in what orientation before complete disassembly. Unlike the RCA R-192 motor and the VM 950 motor, the VM 1200 series motors require special knowledge and tools to get the stepped capstan off the shaft. So on these motors, the bearing housing, rotor, and shaft assembly all go into the bath. We have also now upped the stringency of the soak to mineral spirits, leaving rubbing alcohol behind for the simple hearted.
The parts have been soaking now for about two hours. Is that long enough? Let’s find out!
After reassembly and re-lubrication, we can fire the motor back up before we reinstall it in the moveable cage it will live in. We have a few types of ‘sewing machine oil’ on hand. Some are lighter than the others. We go for the heavier of the types, though not the heaviest motor oil in the shop. The motor runs great and we run it for a few hours.
This is where patience and further testing would be advised. But we aren’t patient and we don’t take the advice. We reassemble everything, and haul the record player upstairs to the living room. We plug it in, stack it up and kick back for some listening, while we do a victory dance.
But the next day, when we try playing records on it again, we find that the motor has seized up. We know this because the platter doesn’t rotate.
Back to the shop! Disassemble! A royal pain in the ass has gotten under way.
Looking again at the AI list of steps, we note that we have followed them exactly. But we still have a motor the shaft of which is binding too much to be able to spin up under power. We go through the motor disassembly process again, re-marking the parts with fresh ink. This time, we soak for 24 hours or so. We heat the parts up with a blow dryer, and use a cotton swab to tease the stubborn traces of cooked grease out of the bearings. We did a bit of this before, but this is a much more thorough attempt. There is a surprising amount of fresh old crud on the swabs. We are now theorizing furiously. What if running the motor heats it up and coaxes more cooked grease into the bearing from the housing. The housing is designed, presumably, as a reservoir for lubricant. We reassemble and run the motor. We are now a bit shy about reassembly before a few days of running and cooling. Can we get the motor to fail again before we reassemble the whole phonograph?
A week of alternating runs and cool downs with no failures.
Our victory dance lacks a certain bounce.
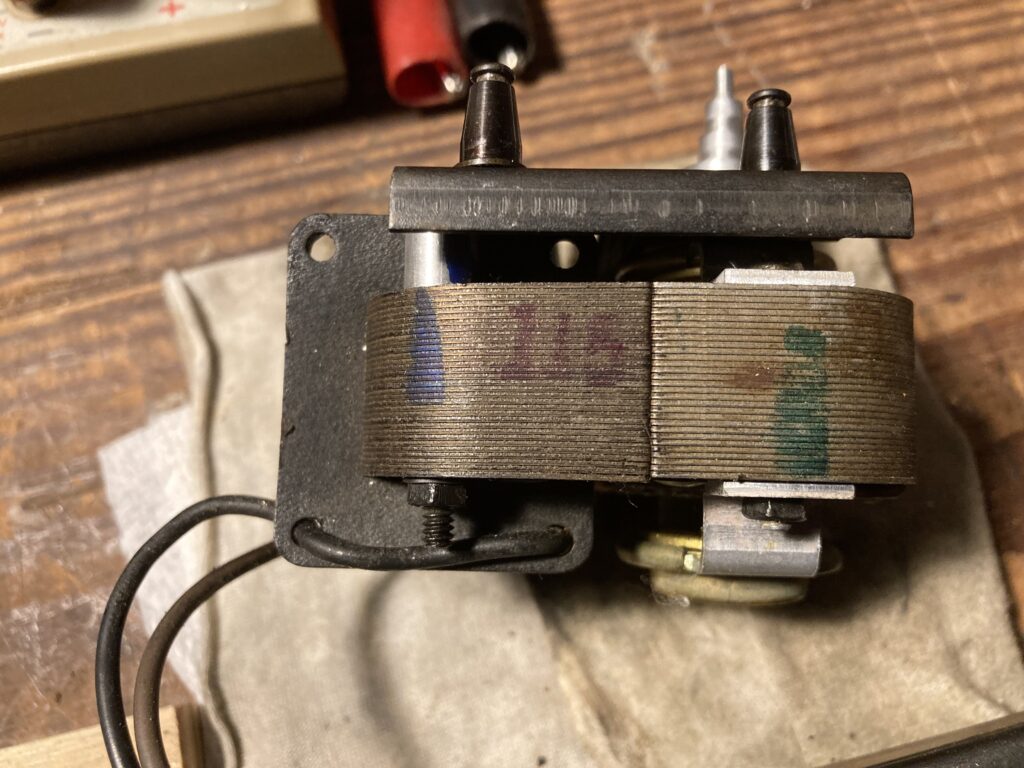
marks on the motor, survived dip in mineral spirits!
What can I report? In the case of Phil’s 985/950, I had a gig in KC on boxing day (the day after Christmas), so I boxed up the fragile RCA and put blankets around the VM and delivered them to Phil. After about a week, he reported that the machine slowed down and came to a stop while playing a stack of 78s. At nearly the same moment, as I read Phil’s text message, I was listening to LPs on the Philco 1972-S. It faltered and came to a stop, exactly as Phil had described.
I don’t give up easily.
I had the platter off that same evening and was dabbing mineral spirits onto the motor shaft. Without more disassembly than I was willing to do with the Philco console – dozens of screws, lots of furniture moving, a gathering of tools including soldering tools – I had wisely, it seems, not locked the changer in with the clips – I am able to lift it out and get to the motor to a certain limited extent … I got the shaft freed up again. But after a few days of rest, it seized up again. “Luckily,” I have a bunch more of these projects going.
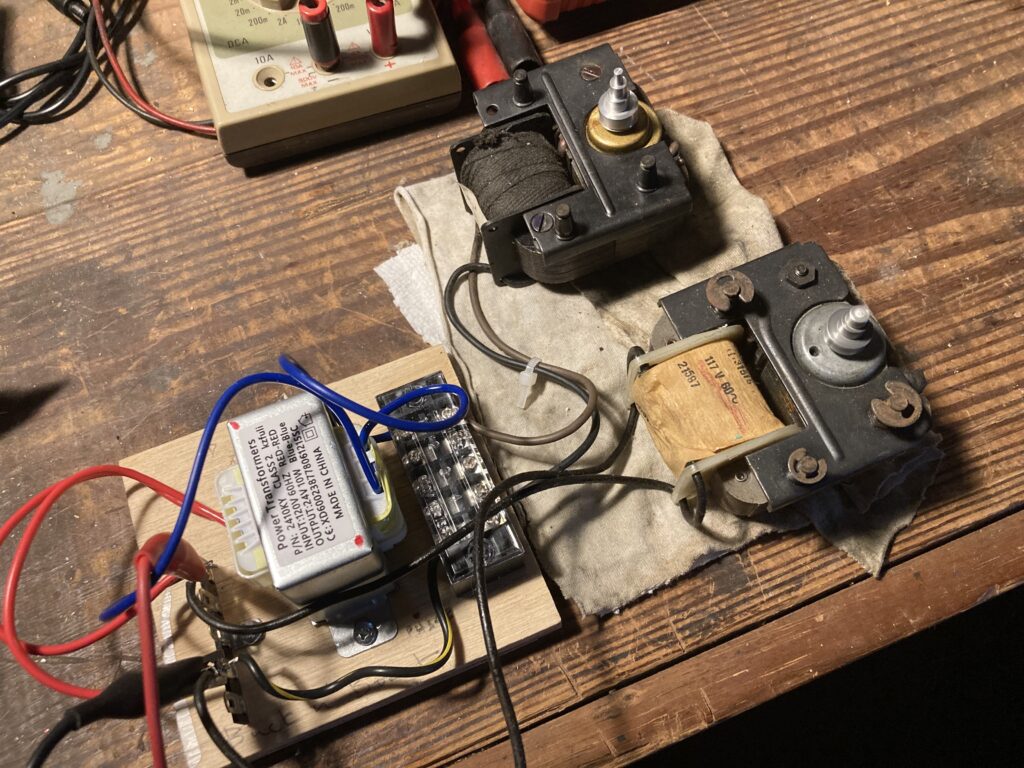
In the photos above, I have a pair of the left-over parts motors running. One is a 117 volt Cutler-Hammer motor, which is a bit larger and runs a different rpm than the Alliance motors. Therefore, parts are not interchangeable. The conical stepped capstan is clearly more stout on the CH. It is also damaged. The very slender 16 rpm step has been mashed flat. This motor will remain a curiosity. The other motor, an Alliance 90 volt motor came out of one of the changers that had been designed for a ‘one tube wonder,’ most likely a VM 1260. This brings us to ‘buck-boost’ transformer wiring. The 90 volt motor is wound for less voltage than the 117 volt variety. The 126 volts we get on our line here in East Central Illinois is way too much for it. I was running it on the variac (variable voltage AC transformer), but I did a bit of Googling, and AI put me on to buck-boost wiring.
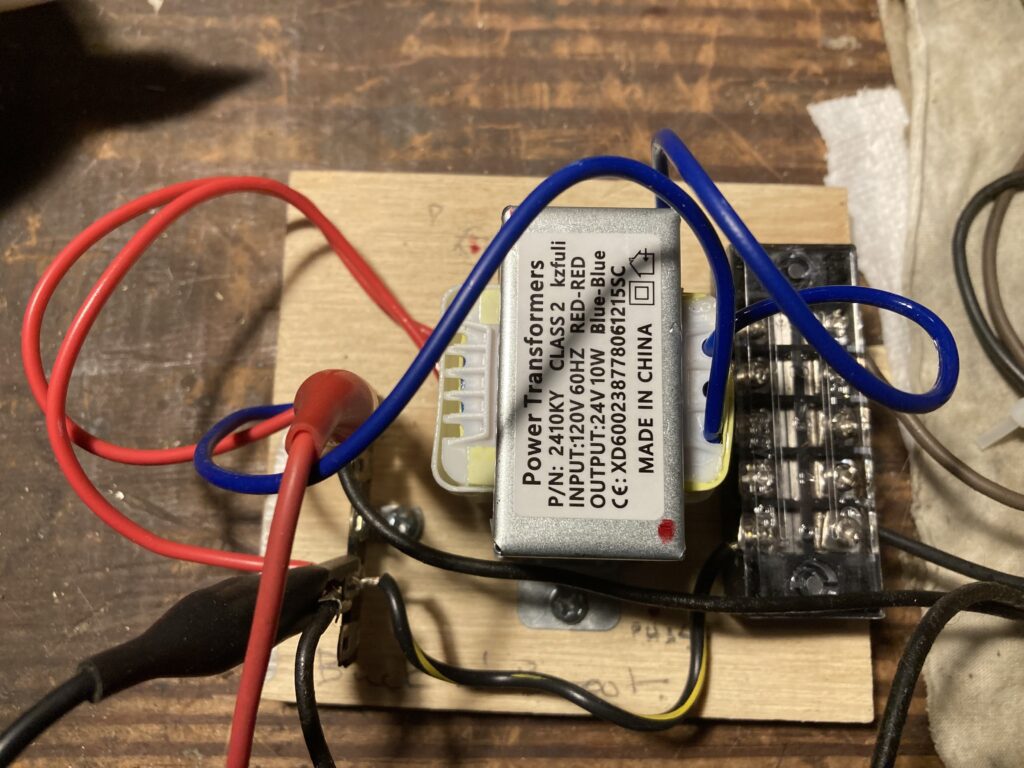
Obviously, the 24 volt secondary cannot get the voltage down to 90 volts from 126. On the raw line, I’m getting about 108 volts at the load. Better than 126, but well above 90. I’m still using the variac for torture tests, but if I decide to put this motor into a circuit where I need to use the full line, I would likely just do it and pray.
This project is still open. Here’s what I learned: removing the old, cooked grease with mineral spirits is only part of the battle. The motor then becomes quite thirsty for fresh lubricant. Fresh lubricant must be available in the bearing housing. The Alliance motors do not make this easy. There are not ports in the housing for oil fill. The oil bust be fed through the shaft and worked in. Heat will add any remaining traces of the old grease, which is no longer a lubricant, but more like adhesive, to any fresh lubricant. Since the only way to work the old grease out is by attrition, this process can take time. AI is all too glib about this.
The motors have lived lives of constant toil in their cages. The moving parts, the shafts rotating in the bearings, and the bearings spidered into their housings, and the housings fixed in place by bolts, lock washers, and nuts have all gotten seated. They are used to each other. They share each others marks and stress wounds. Dismantling the motor upends all of this camaraderie. Perhaps the finishing touch is to reassemble the motor and run it before fully tightening the bolts. Yeah… that’s where this exploration of the problem is going next…